There are
so many delicious and varied types of bread that we can bake at home using
different techniques, flours and extra ingredients. I’ll be honest with you, basic white bread
isn’t the most interesting, tasty or healthy choice you can make when baking
your own bread. So when learning to bake
bread why on earth bother with a plain white loaf with a single type of boring
white flour and no whistles and bells?
That’s the
point.
There is
nowhere to hide with a plain white loaf.
You have to get your techniques absolutely right and have a sound
understanding of how your ingredients work.
It is a great arena for learning how yeast behaves and why. How to knead?
Why knead? What is really going
on when we prove dough? What happens
when a loaf is put in the oven?
If you can
get the basics right on a simple white loaf then the bread baking world becomes
your oyster.
But by the
way, it’s not that simple!
Let’s take
a quick look at our ingredients...
Flour

Flour
contains a variety of different substances including protein, sugar, enzymes
starch and lipids. Different flours
contain these base substances in different quantities depending on what the
flour is milled from, for example wheat flour has a lot more protein than rye
flour.
You need what
is called a ‘strong’ flour or ‘baker’s flour’.
It’s strong because it comes from wheat that is hard due to a high
protein content compared to starch content.
This means that when kneaded the hard proteins form strong bonds which
create that lovely chewy crumb texture we get with a decent white bread.
Compare
this with a cake crumb where a ‘soft’ or plain flour is used. Here the flour has a much higher starch
content which results in the tender crumblier crumb instead of chewy. We hope!
Two of the
natural proteins in bread are gliadin and glutenin. Repeated stretching unfolds and then aligns
these two proteins and forms ‘gluten’ strands.
This makes your dough silky and elastic.
The
etymology of the word gluten is from the Latin word for ‘glue’ so it’s no
surprise that it’s the gluten which holds the bread together in the structure
we associate with white bread by trapping the gas bubbles created by the yeast
which in turn forms the crumb.
When
dormant the gliadin and glutenin molecules are a tangled mess. When water is added and kneading takes place
the molecule structure changes from tangles to straight and aligned. Hey presto, gluten is formed.
Yeast

Wow. Yeast is quite a thing and arguably the
earliest domesticated organism. The etymology
comes through Indo European ‘Yes’ and Old English ‘Gist’ meaning to boil or
bubble. And bubble it does.
It’s
actually a fungus which comes to life with water and a little warmth and then feeds
on the natural sugars in the flour. As
it feeds away it burps out carbon dioxide which manifests in little gas
bubbles. It’s these bubbles which give
air around the glutinous structure of the dough and cause the bread to rise.
There are
many types of yeast and it deserves a whole post to itself, but here I’ll
concentrate on a single type. Fast
acting dried yeast. I’m choosing this
type as it’s readily available and the easiest to use. Not that I’m a believer in the easy route but
it’s a good way to start out and once mastered you can quickly progress to
using fresh yeast.
Water
A lot is
written about the temperature the water should be. I have found that a blood temperature works
well. Simply dip your finger into the
water and if it feels that there is no change it’s the same temperature as you. Or your blood!
Sugar

As we know
yeast eats sugar and gives off gas which is what we want to make the dough
rise. Be careful though as too much
sugar can actually inhibit fermentation.
It can also affect the development of the gluten in our dough as it
competes with the protein to absorb water.
If you have ever made a sweet dough you know that it takes longer to
form for this very reason.
It’s also partly
the sugar which gives our bread the lovely brown crust we are looking for. Something called the Maillard Effect where
sugars turn brown when heat is applied and create depth of flavour. That brown crust in bread gives the whole
loaf extra depth and is really important to your final product.
You might wonder why a
lot of commercially produced breads contain so much sugar? The answer is that the traditional way of
bread baking takes time, care and artisan skills. Something which is incompatible with
commercial bakeries because time, care and artisan skills are expensive. So instead of allowing a long proving time
they replace the flavour developed during a real proving with artificial flavourings and sugar. Much cheaper and no skill required.
Salt
Salt is a
flavour enhancer. This means that used
in the right quantities it makes your food taste even more like itself. Tomatoes become more ‘tomatoey’, meat more
‘meaty’. I could go on....
You might
think, as I used to, that salt is added only for flavour. But no.
It has another important role to play in the proving process. Like sugar, it actually inhibits the yeast
activity making the dough rise more slowly and evenly. This creates more flavour.
As it
inhibits the yeast eating up all the sugars, salt therefore helps to make sure
there are more sugars around to give us that brown crust we are after.
Furthermore,
the addition of salt makes the dough stronger as it has a dehydrating effect
and tightens the structure. If you make
a dough without salt but the same ratio of flour to water you’ll notice the
saltless dough is stickier and more likely to rip when kneading.
As a
guideline, 1.8% salt to the dry weight of flour is about right.
Butter /
Oil

There is
much discussed about the benefits of oil or butter added to the dough.
It is
widely accepted that the addition of fats will result in a more tender crumb
and an extended shelf life. French
baguettes have no fat in them and so don’t last as long as those that do. A lot of people argue that bread shouldn’t
have a long shelf life anyway and the ability for supermarket breads to last
for the length of time they do is positively alarming!
I’m using
butter rubbed in at the dry stage here but I sometimes use olive oil worked in
at the kneading stage which brings extra flavour.
Now let’s
have a look at the crucial stages and processes in chronological order...
The
mixing
It sounds
obvious but what you are after here is an even distribution of all your
ingredients.
To this end, use a ridiculously large bowl. The
bigger the better. A simple plastic
washing bowl is perfect, if you can get one with a slightly abrasive surface it
aids the process.
At this
point it is important to let the dough rest in its shaggy mass before you start
to knead. This gives the flour time to
absorb the water so the dough is less sticky and therefore you are not tempted
to add more flour. If you have got your
quantities right you shouldn’t need to flour your surface during the kneading
process. Do remember however that
different flours absorb different amounts of liquids in different
atmospheres. You might need to adjust
the amount, remember to get an understanding of what the right dough feels like
rather than blindly following the recipe.
N.B. There
is much written about the ‘autolyse’ method developed by Raymond Calvel the
daddy of French breads which involves letting the dough rest at this stage
without the addition of the salt, sugar and yeast. He’s worth looking up.
 |
| Raymond Calvel |
The
Kneading
Kneading
develops the gluten which we need for the texture of good bread.
Furthermore,
the kneading traps air pockets which hold the carbon dioxide given off by the
yeast and provides the structure which allows the bread to rise.
Your dough
is kneaded enough when...
- It’s a nice smooth consistency. Soft and pliable to the touch.
- It holds its shape. The gluten strengthens the dough so it should
retain its shape when picked up.
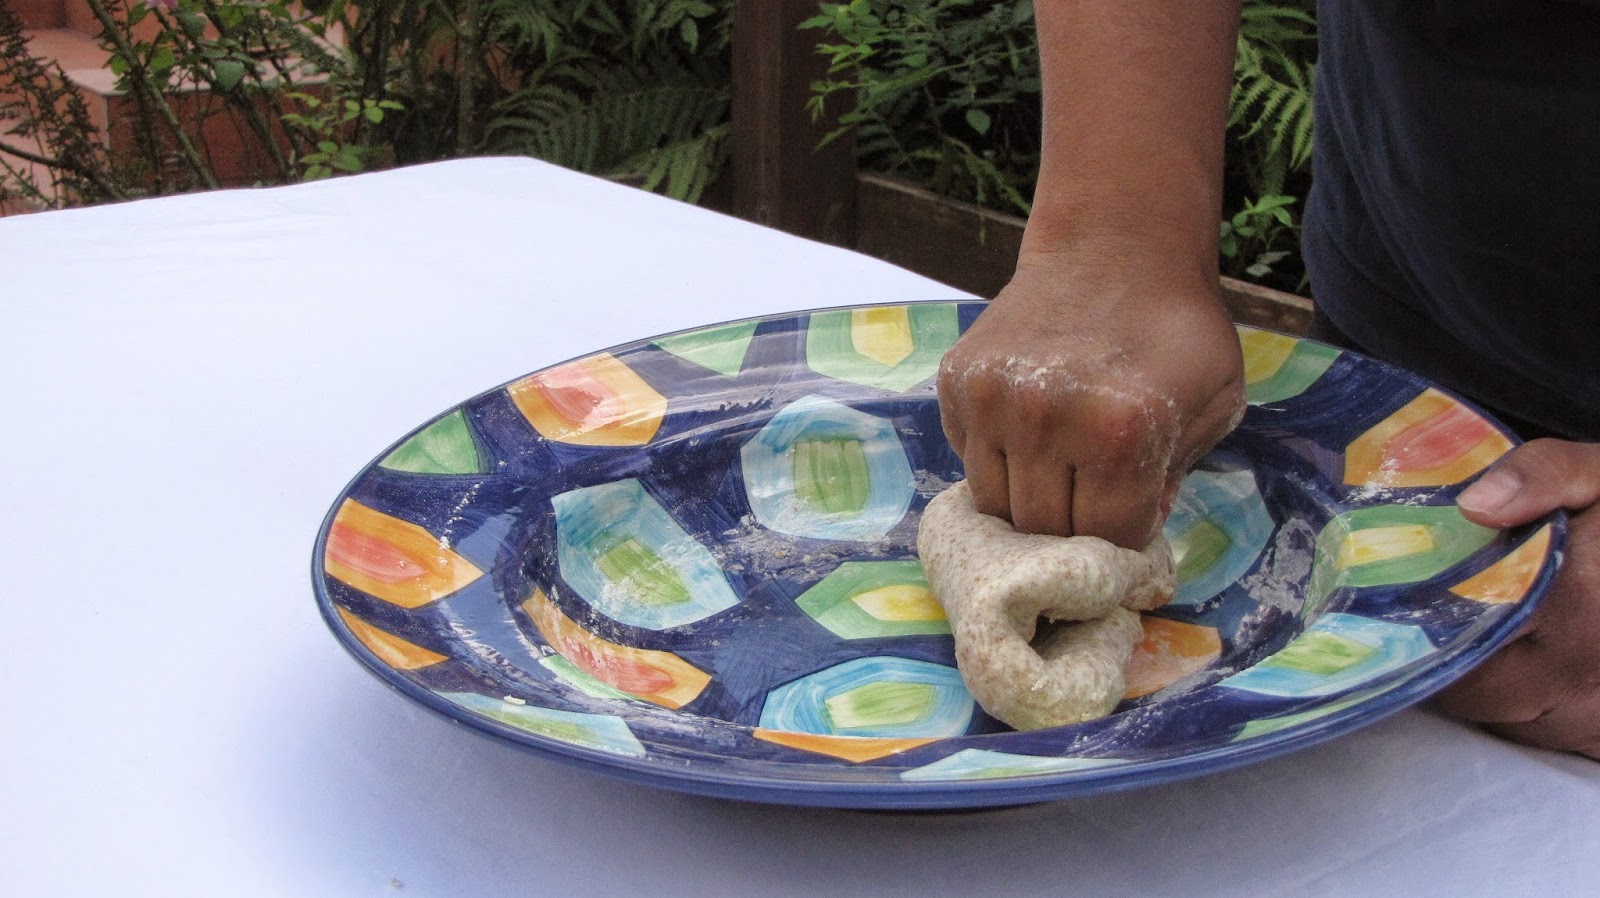
I have found that the best technique is to hold one side of my dough with the heel of my left hand and then stretch the other side away from me with my right hand. Then roll the dough back towards me into a ball again, give it a quarter turn and then repeat.
Under kneaded dough will retain the shaggy mass
form and will tear easily. It will not
have the strength it needs to hold the gases and structure of the loaf when
baking and will therefore spread outwards rather than up and be rather
flat. It may even collapse as the gases
escape the loaf due to the gluten not holding them in.
Over kneaded dough will go through the correct silky soft
elastic stage and then become tough. It
will feel tight and you won’t be able to fold it over on itself very
easily. This is almost impossible to do
if kneading by hand. It’s only with a
mechanical mixer that you could work the gluten too much. A good reason to roll up your sleeves and do
it the natural way.
Then we
leave it to ferment...
The
Rising
The dough
is covered to avoid moisture loss and left to rise.
All the
tiny yeast cells feed on the natural sugars and give off, among other things,
gas.
The ideal
temperature for this to happen is actually much lower than most people think,
about 80 ° F / 27° C. So don’t put in on
a radiator or in the airing cupboard. In
fact many believe that the lower the temperature; the slower the rise, the
tastier the bread. I have often let my
dough rise in the fridge overnight with good results.
It’s been
shown that yeast produces gas ‘faster’ up to 95° / 35° C but it also tends to
produce more unpleasant smelling byproducts as well. So be patient and let nature work its magic
in its own time.
When is it
ready?
- It should be about double in
volume.
- When poked with a finger it
should not spring back. This means
that the gluten has been fully developed.
At this
point ‘knock back’ the dough by punching all of the air out of it. This redistributes the yeast evenly as well
as evening out the temperature.
The dough
is then shaped into the form you want to bake it in and, with strong flours, left
to rise a second time. This is usually a
shorter time.
The
Baking
The first
thing that happens when you put the dough in the oven is that the yeast has one
last hurrah before the heat kills it dead.
This is called ‘oven spring’ and manifests itself by a quick rising of
the loaf.
Two very
important things then happen at the same time.
- The gluten coagulates and the
starch gelatinizes to create the solid crumb we know in bread.
- The crust starts to form on the
outside of the loaf and create a crunchy seal.
This is
really important when it comes to your oven temperature.
- If your oven is too cool then the dough expands before the gluten and starch have set causing the loaf to collapse as there is no solid structure to hold the dough.
- If your oven is too hot then the crust will seal the loaf preventing your dough from expanding resulting in a poorer texture.
The crust
of the loaf should brown nicely which bring flavour to not only the outer edge
but permeates through the whole loaf.
Your bread
is cooked when it sounds hollow when tapped and feels ‘light for its size’.
The
Cooling
When the loaf
comes out of the oven the crust is super hot and dry and the centre is cooler
and moist. The bread needs to rest so
the temperature evens throughout and the starch has a chance to solidify. Don’t be tempted to cut in too early!