With a Rye

My friend
Emma from Animal Balance asked me to do a post on vegan bread. It’s actually very simple, I substituted the
butter for sunflower oil and we’re done.
Vegan friendly.
I made sure
there is a liberal amount of seeds on the top so she can get some protein and thought
I would go with the addition of rye flour for extra flavour.
Rye breads
have been around for thousands of years.
The Vikings used to make an unleavened variety with a hole in the middle
which could be hung up for storage. This meant that the bread could last for years!
 |
| Viking Rye Bread |
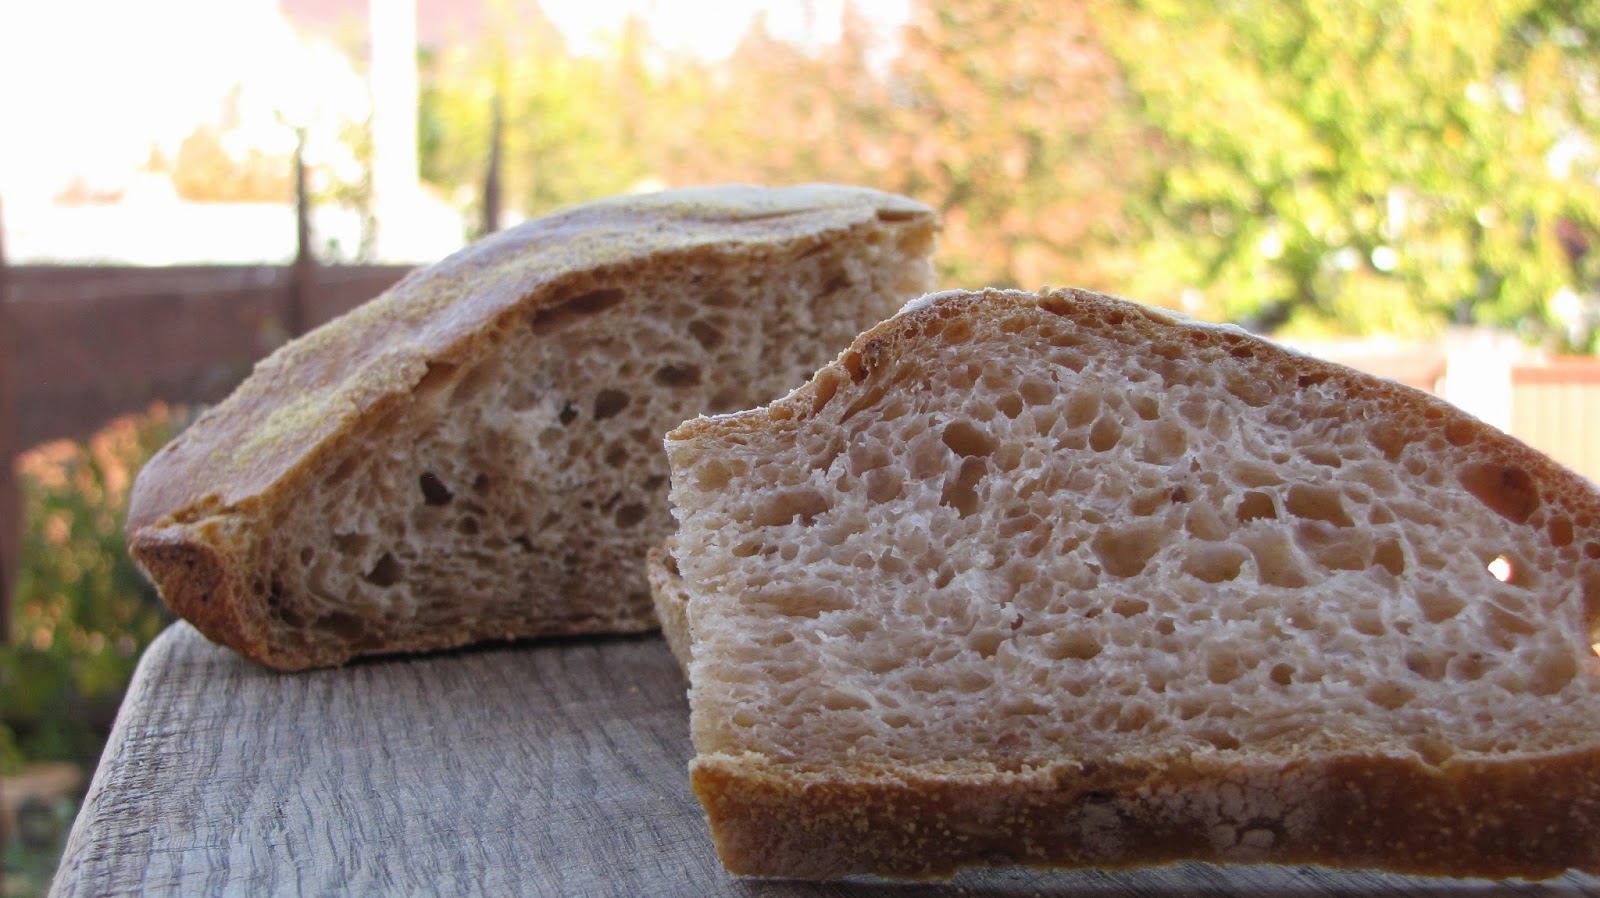
Rye is
closely related to wheat but has much less gluten. What gluten it does have traps air bubbles
poorly so don’t expect so much of a rise. If you make bread with
only rye flour it is dense with very small air bubbles.
 |
| A closer crumb |
However,
rye has more sugars than wheat, so rye dough ferments faster
so watch the rise!
You can buy
a variety of different types of rye
The added
teaspoon of malt here gives a great depth but can be omitted if you don’t have
it.
This is a
really good example of how you can experiment with your bread once you have
mastered the basic white bread technique.
The procedure here is the same, but with 20% of the wheat flour
replaced with rye and hydration increased to 65%. Once you get the basics right you can start
experimenting for yourself with different flours and loaf shapes.
Ingredients
800g Strong baker’s flour
195g Rye
5g Malt
14g or 2
sachets of fast acting dried yeast
650ml water
at room / blood temperature
18g salt
36g Caster
sugar
30ml
Sunflower oil
Seeds for topping
Seeds for topping
Utensils
Large
mixing bowl
Electric mixer with dough hook
Electric
weighing scales
2 large
wicker bannetons
Baking tray
Cooling
rack
Sieve your
two flours together into the mixing bowl.
Add in the salt, sugar and dried yeast.
Add your
oil to the water.
Make a well
in the bottom and add in your water.
Reserve a little just to make sure you get the right consistency. You should be able to collect all of the
flour and liquid together into a complete shaggy mass with no extra flour left
around the bowl.
Cover and
let sit for at least 10 minutes for the moisture to absorb as much as possible
before kneading. Up to an hour if you
can.
Now
transfer the dough to the electric mixer, attach the dough hook and mix until
you have a soft, elastic and pliable dough.
About 10 minutes.
When you
are happy, return to a lightly oiled bowl and allow to double in size at room
temperature.
Meanwhile,
flour your bannetons well and throw in liberally your choice of seeds. I’m using a mix of sunflower and pumpkin
seeds here.
When the
dough has doubled in size knock back and remove from the bowl. Using your scales divide the dough into equal
sizes according to how you are going to do your final prove. This amount gave me two 815g loaves.
I shaped
each into a ball by gently flattening the ball and then folding the edges to
the middle.
I’m using
large oblong shaped bannetons here so I then elongated the loaf to adjust to
the shape of the basket.
N.B. If you don't have bannetons then simply shape your loaves and leave to rise on your baking tray at this stage.


Leave to
prove for a second time until risen again.
This will be a shorter time than the first.
Pre heat
your oven to 220 ° C conventional and place your baking tray in the oven. If you are using a steam bath technique put
you empty tray under to heat up as well.
The dough
is ready when you press a finger gently to dent the dough and the dent remains.
Remove the
baking tray from the oven and sprinkle with a little flour.
Now turn
the dough onto your pre heated and floured tray, spray with water, sprinkle
with more flour and then very lightly carve three lines in the top with a very
sharp knife.
Return to
the oven with a big spray of water into the oven or pour cold water onto your
heated tray in the bottom of the oven.
Bake for 10
minutes on 220 ° C then turn your oven down to 200° C for a further 40 minutes. A total of 50 minutes.
Don't forget that ovens vary so take them out when they are done not simply at the end of
the cooking time. Bake the loaf not
recipe!
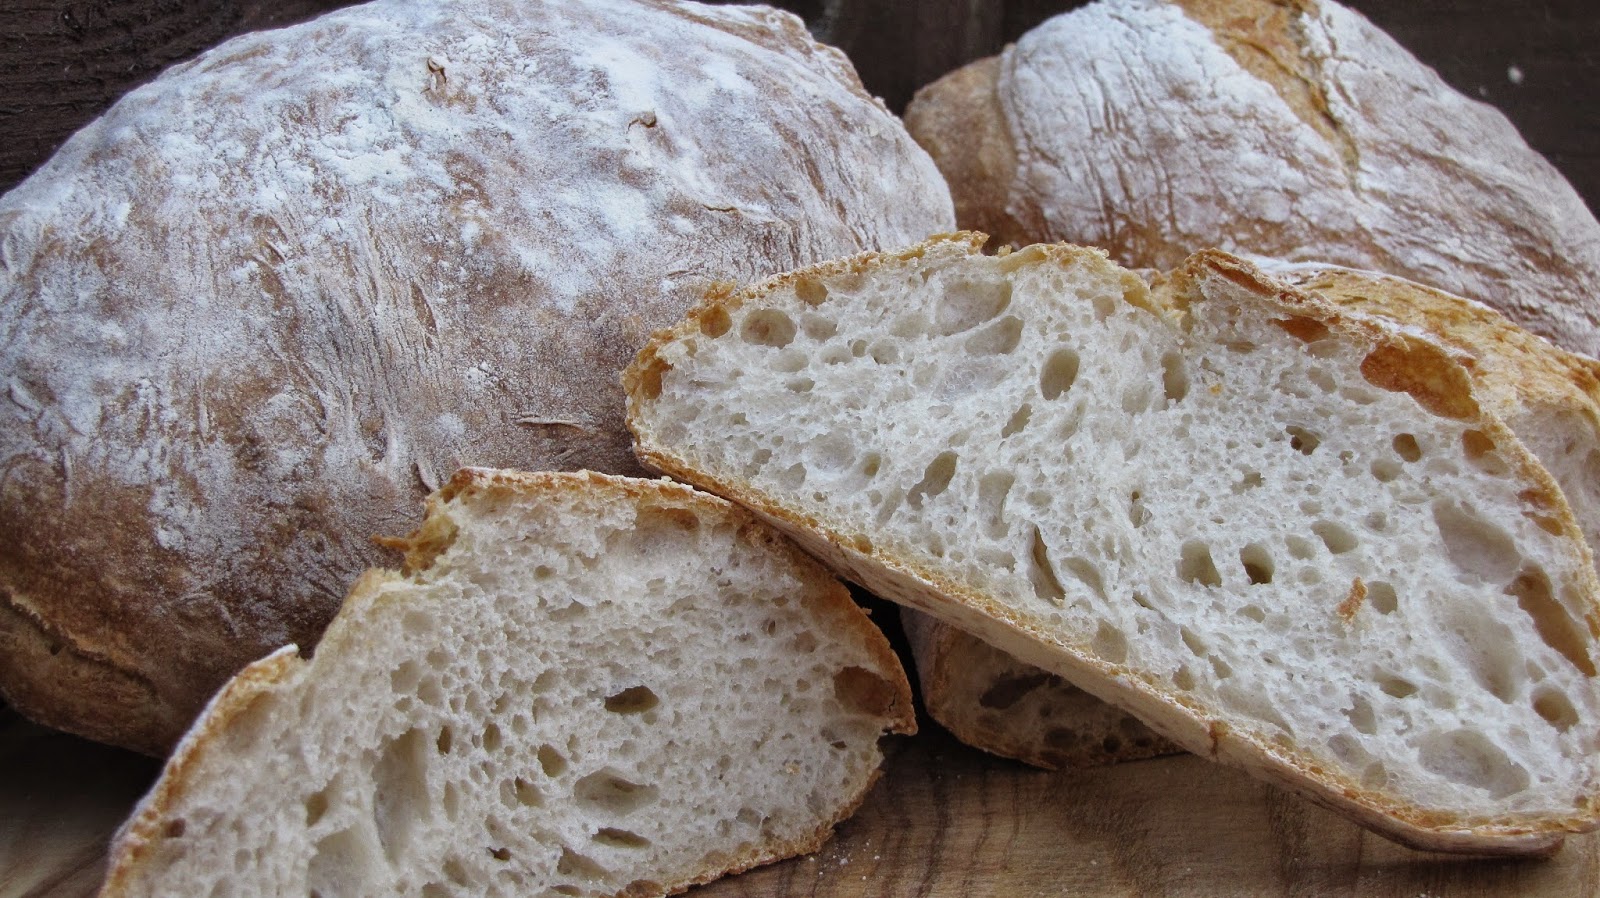
Remember…
- loaves coloured on the crust
- feeling ‘light for the size’
- sounding hollow when tapped.
Enjoy